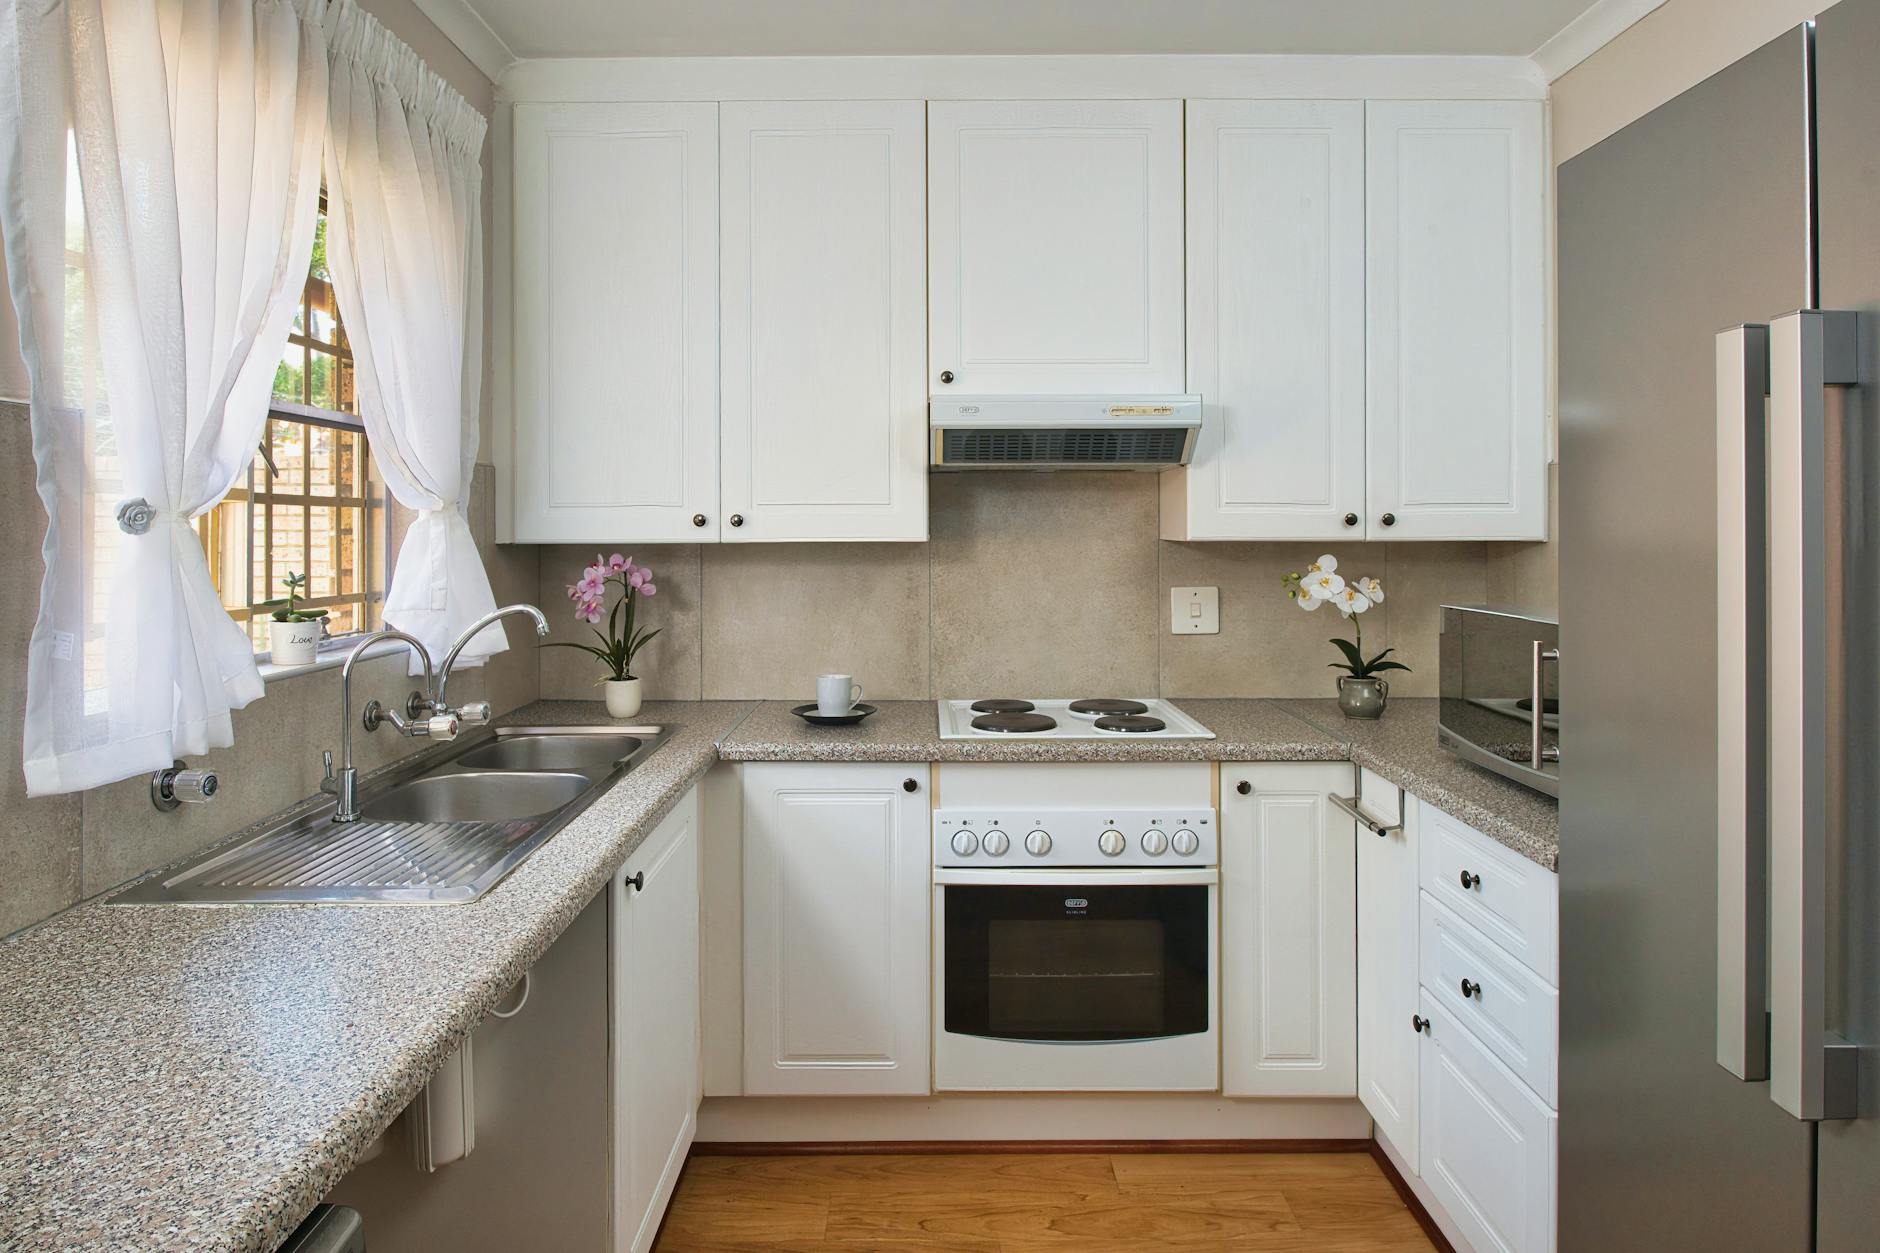
A tiny-house kitchen feels usable when you have at least one uninterrupted stretch of prep counter, a place for each tool within a step or two, and a short, clear path between the sink, the stove, and the refrigerator. Appliance count and cabinet count matter far less than those three things. If you can chop, cook, and clean without moving objects first, the kitchen works.
Most tiny kitchens run from about 4 to 10 linear feet of counter total, often along one wall. This guide covers how to lay out that space, how much prep surface you really need, which appliances earn their place, and what to avoid, with specific measurements you can check against your own plan.
Prep space decides everything
The most common complaint about small kitchens is nowhere to chop. A usable prep zone has these traits (the lengths are practical rules of thumb, not code requirements):
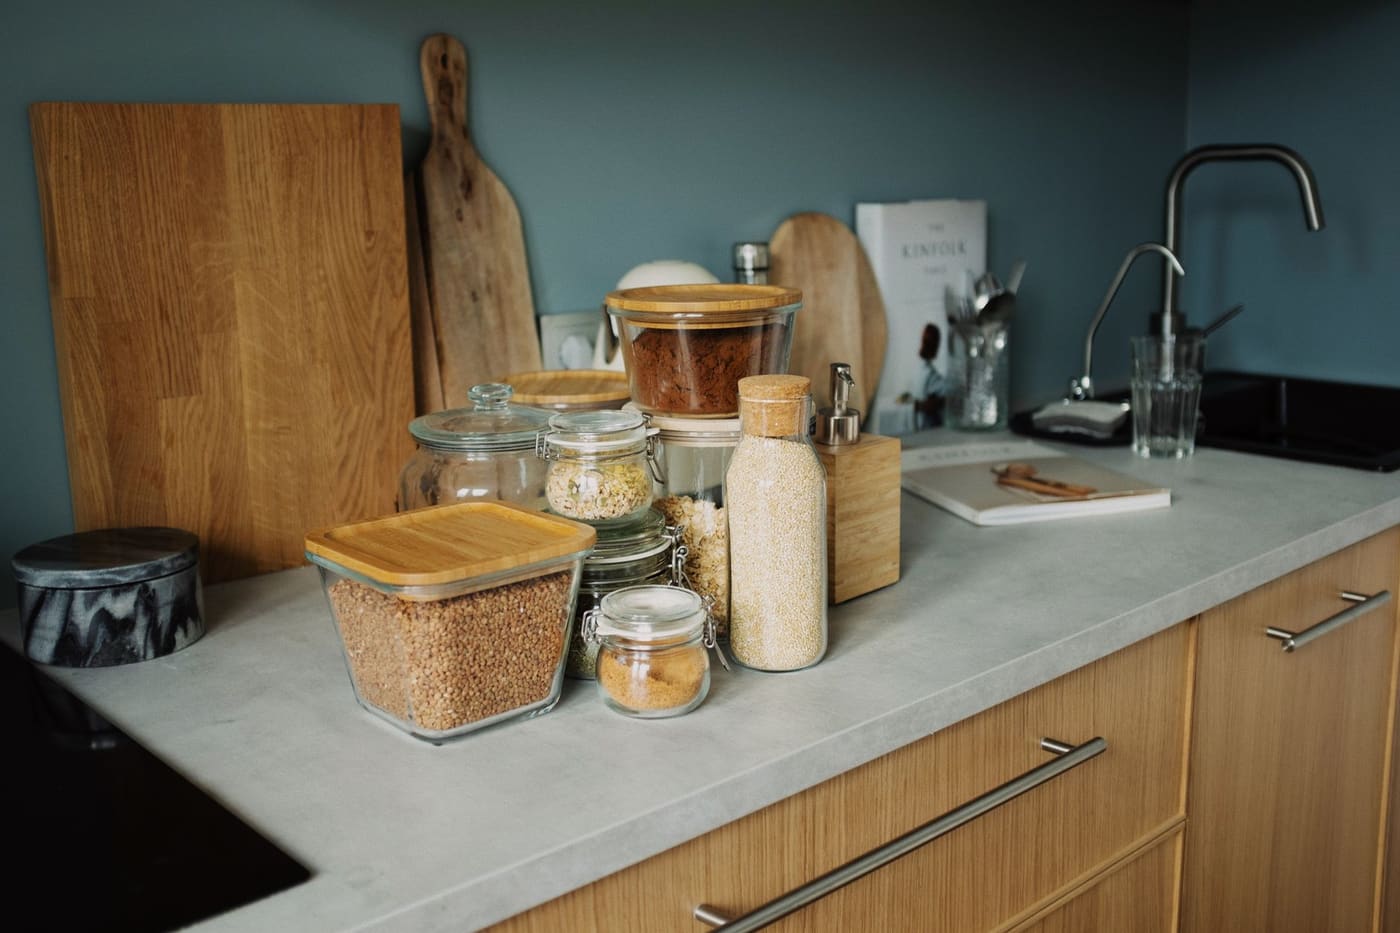
- At least 24 inches of clear counter, ideally 30 or more, between the sink and the stove, or next to either. Cutting boards are usually 12 by 18 inches or larger, so anything under 24 inches of clear counter forces you to balance the board.
- A standard counter height of about 36 inches, or a custom height that matches your own comfort. Taller cooks often prefer 38 to 40 inches.
- Depth of 24 inches is typical. Counters 20 to 22 inches deep save floor space in a tiny house but leave less room for appliances and a cutting board at the same time.
- A flat surface that is not interrupted by a sink bowl, a burner, or a dish rack.
If the permanent counter is too small, add a surface you can deploy. A cutting board that spans the sink, a fold-down shelf, or a drop-leaf extension adds 12 to 18 inches of prep space for a short time. A rolling cart with a butcher-block top can double as storage and prep, though it needs a spot to park.
Arrange the work path, not just the cabinets
Classic kitchen planning uses a “work triangle” between the sink, stove, and fridge. In a tiny kitchen, the triangle is compressed into a line, but the idea still helps. Aim for these relationships.
- The sink is next to the prep space. You rinse and chop in the same spot.
- The stove is within one step of the prep space. Moving a hot pot more than a few feet is a safety concern.
- The refrigerator is at the end of the line, so the door does not block the path.
- Clear walking aisle as wide as you can make it. The National Kitchen and Bath Association’s planning guidelines recommend a work aisle of at least 42 inches for one cook and 48 inches for more than one. A tiny house often cannot reach that, so treat about 36 inches as a squeeze-fit floor and test it with tape before you build.
- No door or drawer that collides with another. Open every one in your plan or mock-up.
Common tiny layouts include:
| Layout | Typical use | Strengths | Weaknesses |
|---|---|---|---|
| One-wall (galley along a single wall) | Most tiny houses on wheels | Saves floor, simple plumbing | Long reach, limited prep space |
| L-shaped | Corner kitchens | More counter, a corner for storage | Corner cabinets can be hard to reach |
| Two-wall galley | Wider houses | Everything within a turn | Needs a workable aisle between the runs |
| Peninsula or fold-out counter | Open plans | Adds prep and dining space | Takes floor, needs sturdy anchoring |
The layout article on what makes a tiny house layout work better explains how the kitchen fits into the house’s overall traffic flow.
Choose appliances that match how you cook
Tiny kitchens do not need fewer meals. They need fewer, better-chosen appliances. Start with a list of what you cook weekly, then match.
- Cooktop: Two burners handle most home cooking. A two-burner induction cooktop is a compact option, and it lets you use the counter space when it is off, with a cover. Induction needs compatible cookware, meaning pans that a magnet sticks to, and a suitable electrical supply. A propane cooktop needs proper gas lines, ventilation, and shutoff. Gas installation, leak testing, and connections should always be done by a licensed professional.
- Oven: A full-size oven takes a lot of room and power. A compact convection oven or a toaster oven handles roasting, baking, and reheating for most households. If you bake often, a small oven built into the wall may justify its space.
- Refrigerator: An apartment-size or under-counter refrigerator of about 4 to 10 cubic feet suits most tiny houses. Check whether the door swing fits the room and whether the unit is rated for towing if the house moves.
- Dishwasher: Usually skipped, since a deep sink and drying rack are cheaper and smaller. A compact countertop dishwasher exists, but it uses counter space and water connections.
- Microwave: Useful, but consider mounting it on a shelf or under a cabinet to free counter area.
Rather than adding single-purpose gadgets, choose tools that do multiple jobs. An electric multicooker can slow cook, pressure cook, and steam. For more on which features are worth the money, see which tiny-house kitchen features are worth prioritizing.
Pick the right sink
The sink is the busiest spot in a tiny kitchen. A single deep bowl, about 8 to 10 inches deep and 14 to 18 inches wide, handles pots and pans. Two small bowls reduce prep space and seldom help. Consider a sink with a cover or a cutting board that sits on top, so the sink area doubles as counter when you are not using it. A pull-down faucet makes it easier to rinse large pots.
Drainage and venting must be correct. Slow drains and sewer smells are usually a sign of slope or venting problems. Have a plumber handle any changes to drain lines. In a house with a limited water tank, a low-flow faucet aerator saves water and extends tank time.
Store by frequency, near where it is used
Tiny kitchens succeed when the things you use daily are within reach of where you use them.
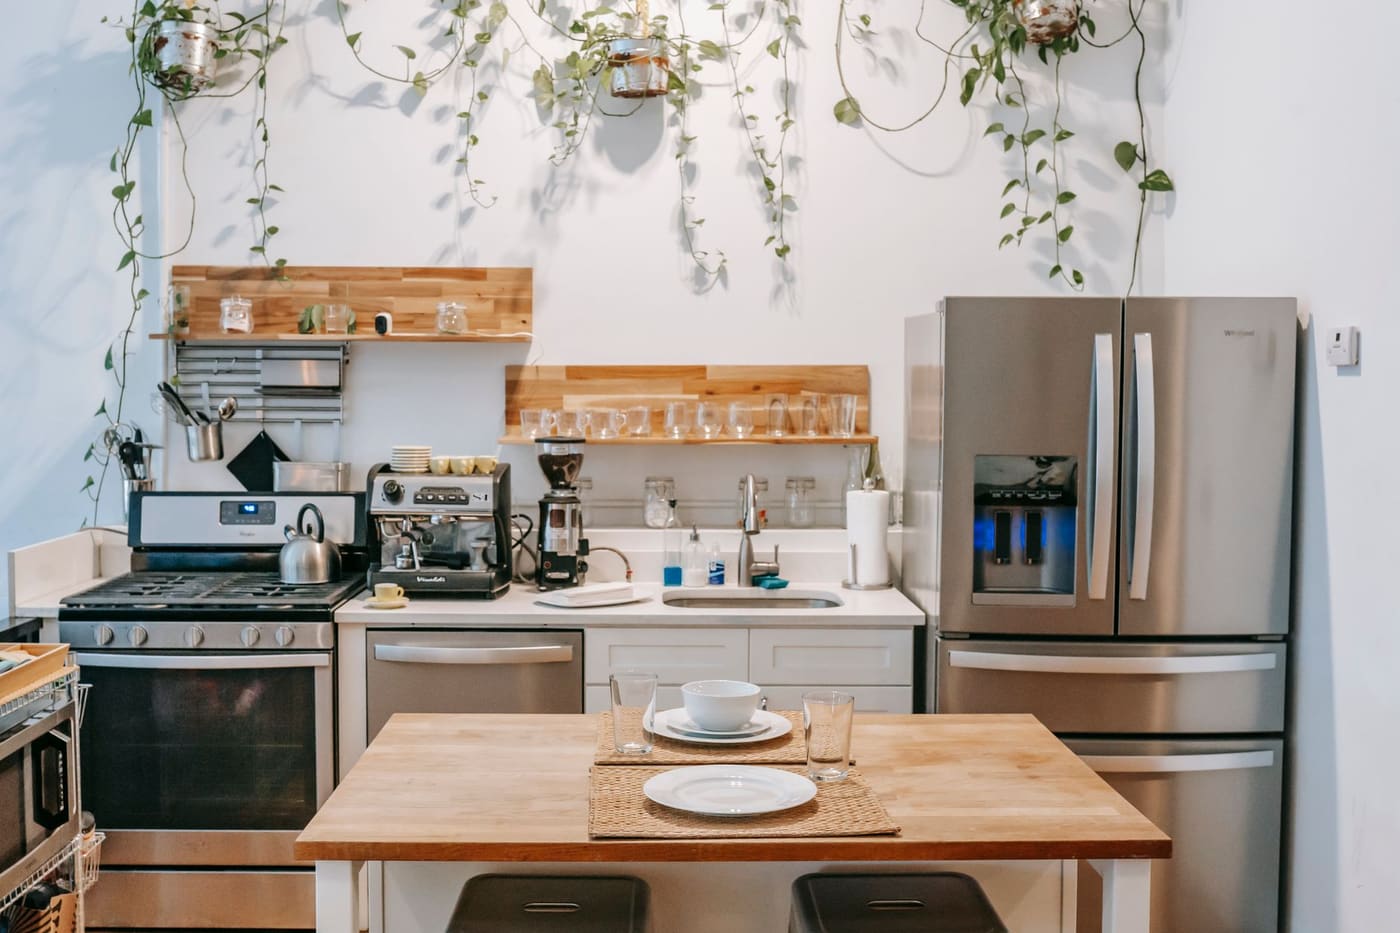
- Pots and pans go in drawers or low cabinets near the stove. Deep drawers beat doors because you see everything at once.
- Knives, spatulas, and tongs go in a drawer or on a magnetic strip near the prep zone. Make sure knives are mounted securely, particularly in a house that moves.
- Plates, bowls, and cups go in a cabinet near the sink or the dishwasher-equivalent drying rack. Two to four place settings is enough for many households, which makes dishes easier to keep clean.
- Dry food goes in uniform, labeled containers on shelves. Square containers use space better than round ones.
- Spices stay near the stove on a rail or in a narrow pull-out of 6 inches wide. Keep them out of direct heat, which degrades flavor.
- Rarely used items go up high or in a different part of the house.
The broader approach in adding storage in a tiny house without overstuffing it applies here as well, with a hard cap on the number of mugs, pans, and gadgets.
Make ventilation and fire safety non-negotiable
A small space fills with steam, grease, and smoke quickly. Plan for it.
- Install a range hood or exhaust fan vented to the outdoors. Recirculating filters help with grease but do not remove moisture or combustion byproducts.
- Use a smoke alarm, and a carbon monoxide alarm wherever fuel is burned. Place and test them according to the manufacturer’s instructions.
- Keep a fire extinguisher rated for kitchen fires within reach but away from the stove, and know how to use it.
- Keep combustible items away from heat. Curtains, paper towels, and wood shelving should sit at the clearance the cooktop manufacturer specifies.
- Never use an outdoor grill or portable fuel stove indoors.
Gas and electrical work are not DIY topics for most people. Wiring a cooktop or oven, installing propane lines, or modifying a range hood duct should be done by a licensed electrician or gas fitter, and local codes and inspections vary.
Surfaces and cleaning that keep up
A kitchen that is hard to clean stops feeling usable. Choose finishes that wipe clean quickly.
- Counters: Butcher block is warm and light but needs sealing and care. Laminate is cheap and light. Solid-surface and quartz look good but are heavier, which matters on a trailer.
- Backsplash: Behind the stove, use tile, metal, or a sealed panel that handles heat and splatter.
- Floors: Sheet vinyl or sealed tile resists spills, and fewer seams mean less dirt trapped.
- Handles and pulls: Choose flush or low-profile ones so they do not snag clothing or bump hips.
Clean with one product at a time and never mix bleach with ammonia or acids, since product labels warn about toxic fumes. Run the exhaust fan and wear gloves for strong cleaners. Before you build, mock up the plan with tape and cardboard, since a few inches decide whether a kitchen is pleasant or annoying.
Where this comes from
The aisle width comes from the National Kitchen and Bath Association’s Kitchen Planning Guidelines. Counter lengths, sink sizes and appliance ranges are common planning rules of thumb rather than code requirements, and the advice has not been tested in a specific house. Gas, electrical and ventilation rules vary by location, and appliance models and prices change, so confirm current requirements with your local building office and the appliance manufacturer.